The Process: Here's How To Sew On A Patch
At WholesalePatches.com, we know custom patches. It's what we do best! When it comes to custom patches, you want something durable that looks good and gets your point across...
At WholesalePatches.com, we know custom patches. It's what we do best! When it comes to custom patches, you want something durable that looks good and gets your point across. The key to making sure it looks good is proper attachment to the garment.
While there are multiple ways to attach patches to garments, each with its own pros and cons, sew-on patches remain the standard method. This is the most secure way to attach patches, and will ensure the patch remains in place for the life of the garment.
If you’ve never sewn on a patch before, it can look intimidating. But fear not! It’s really not complicated, and we’re here with some handy instructions that will make the process quick and easy. There is no reason to be apprehensive about sew-on patches. Attaching them to any garment is fast and easy once you know the process.
Start by washing and drying the garment to which you are attaching your custom patch. Some fabrics will shrink when washed, and this step prevents the material from shifting or bunching once you've sewn on your patch. It's a good idea to iron before you start to sew on your patches as well. The patch side should be clean and dry while also free of wrinkles. Be sure you have adequate lighting.
The key to sewing on your patch is patch placement. Try out different locations on your garment until you find the one that is right for you. Then pin your patch in place until you are ready to start sewing.
As an alternative, if you really want to simplify the process, order iron-on patches. You can put them in place on your garment, iron them on, then sew into place. The result is a permanent attachment, made easier because once ironed on, it won’t move while you’re sewing.
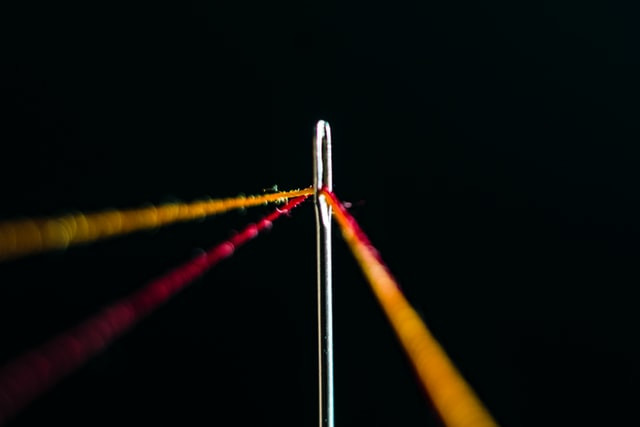
Once you have placed your patch where you want it, it's time to prepare the needle and thread. Use a good quality cotton blend thread and select a color that matches your patch and fabric.
Next, you need to thread your needle. Pro tip: use a needle threader, which can be found at fabric, craft, and discount stores. This simple inexpensive device will make threading your needle much easier and faster.
When you have your needle threaded, pull the thread through until half the thread is on either side of the needle and tie the ends in a knot. Working from the back side of the fabric to the front hides your thread's knotted end upon completion.
Push your needle through the edge of the patch and guide it with your hands. Pull the needle through the front of the fabric and repeat in the opposite direction. You should leave about a quarter-inch between your needle entry points. Repeat all the way around the patch.
Once you're done sewing, place the needle under the stitch to make a loop and pull to tighten. We recommend repeating this step at least once to secure the knot.
Congratulations, you have successfully sewn your custom patch to your garment!